Managing Restriction and Scoping rules in Salesforce is important to ensure data access is properly controlled, especially for companies with complicated setups.
XL Connector by Xappex makes this process easier. This article looks at how XL Connector helps you manage Restriction and Scoping rules efficiently using Excel.
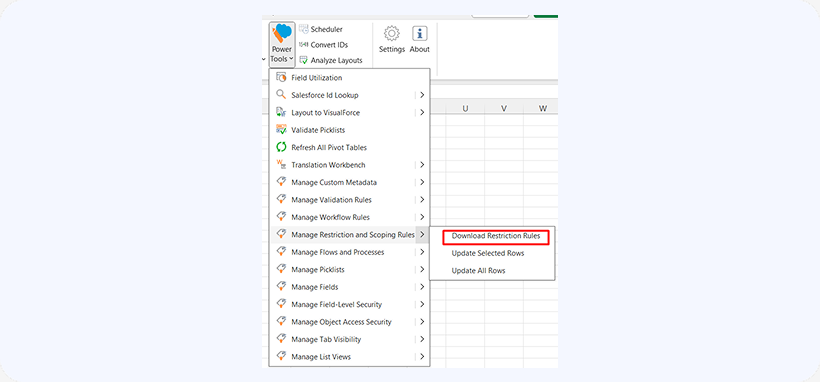
To Download Restriction or Scoping Rules from Salesforce:
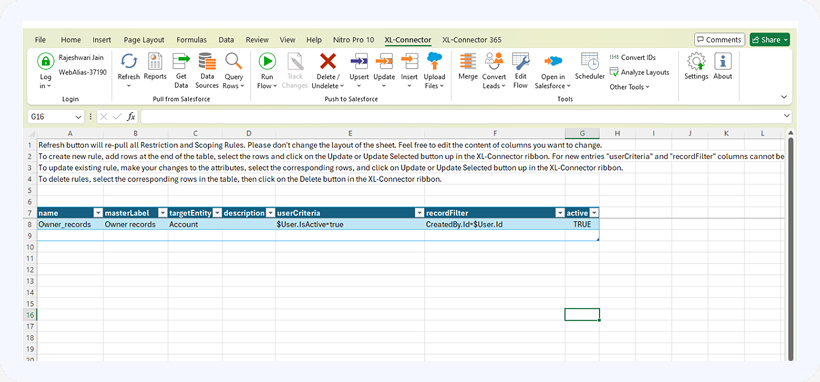
You can quickly download all your Scoping rules from Salesforce into an Excel spreadsheet using XL Connector. This gives you a complete view, making managing and reviewing the rules easier.
To download Restriction or Scoping Rules:
-
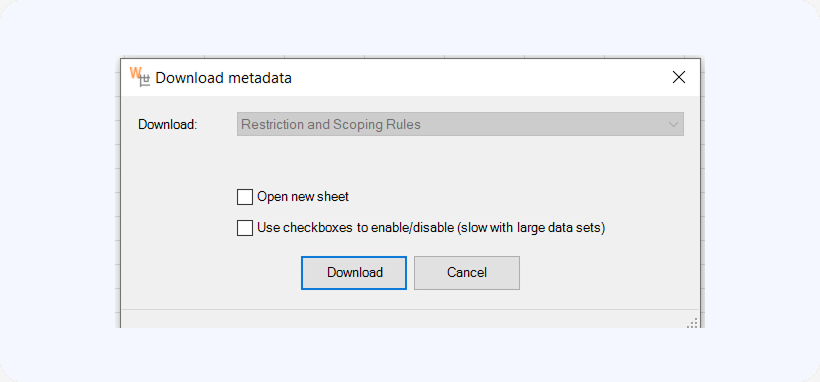
Navigate to Power Tools -> Manage Restriction and Scoping Rules. -> Select “Download Restriction Rules” and save them to an existing or new sheet.
-
After downloading, click the “Refresh” button to update the data with the latest from your Salesforce org.


To Update Existing Restrictions and Scoping Rules:
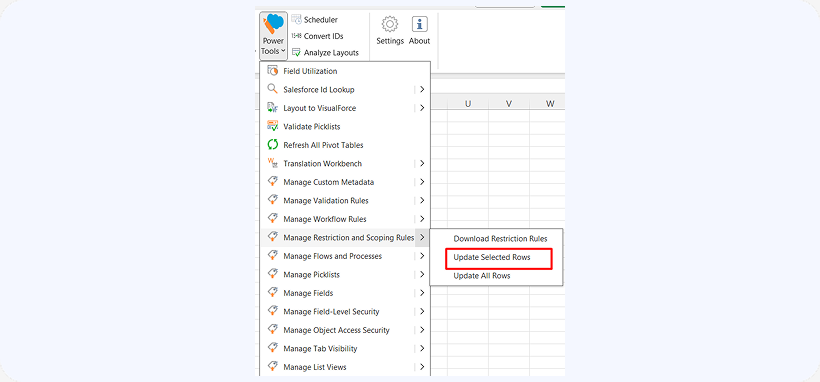
XL Connector makes it easy to update your Scoping rules. Once you download the rules, you can directly edit the field values in the spreadsheet. Hence, it helps in mass updates and saving time.
Follow these steps to apply your updates to Salesforce:
-
Make the necessary edits to the Restriction or Scoping rules in the spreadsheet.
-
Go to Power Tools -> Manage Restriction and Scoping Rules -> Update Selected Rows or Update All Rows.
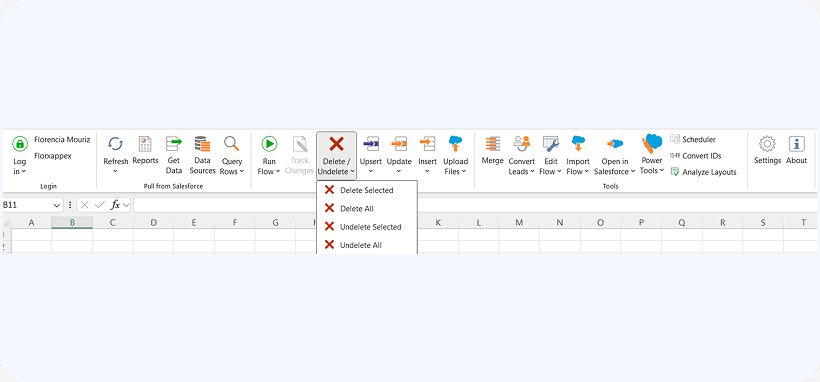
To Delete Restriction or Scoping Rules:
With XL Connector, removing outdated or incorrect Restriction or Scoping rules from your Salesforce org is easy, helping you maintain a clean and efficient rule set.
To delete specific rules, follow these steps:
-
Select the rows corresponding to the rules you want to delete in your spreadsheet.
-
Navigate to the XL-Connector ribbon and click the “Delete” button.
To Create New Restriction or Scoping Rules:
By adding new rows to the table and filling in essential fields like “userCriteria” and “recordFilter”, you can define new rules in Excel and upload them to Salesforce.
Steps to Create New Restriction or Scoping Rules:
-
Add the new rules to the end of the table in your spreadsheet, and then select the newly added rows.
-
Add the new rules to the end of the table in your spreadsheet, and then select the newly added rows.